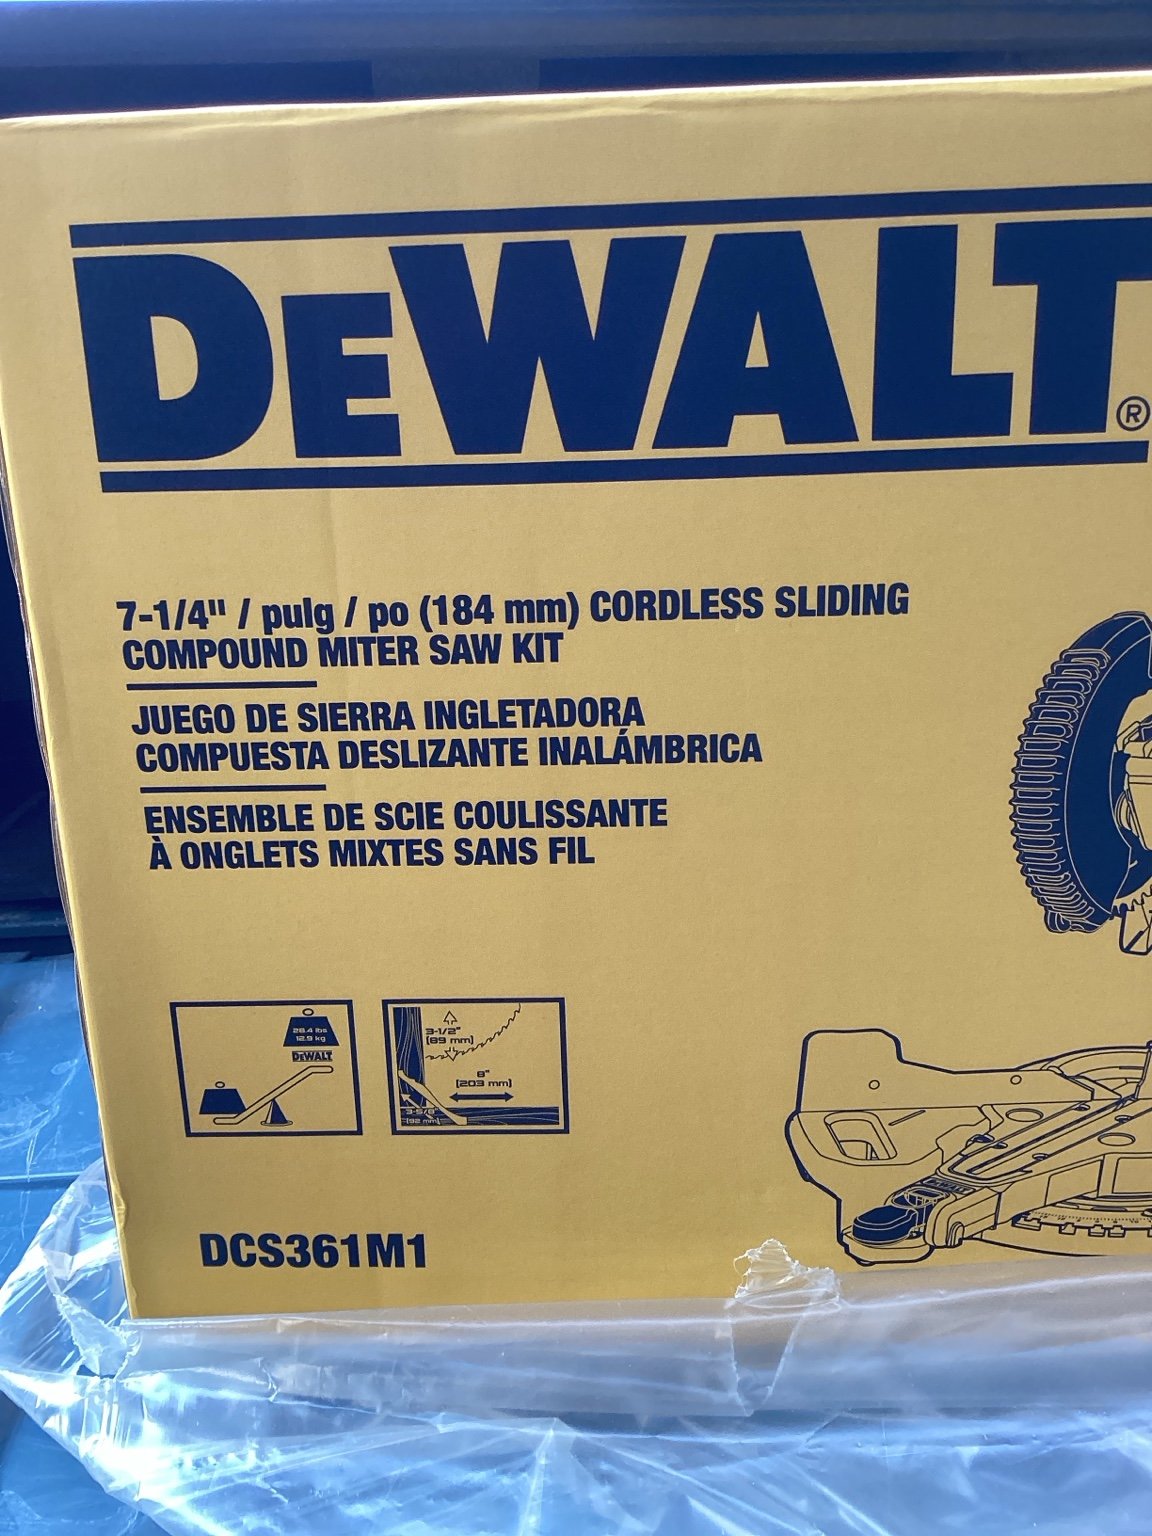
Geometry, support, and controlled movement for Bob's DeWalt DCS361—learned first without a battery and practiced only after the manual is open.
A miter saw turns careful setup into repeatable length and angle cuts. Its speed also leaves almost no time to correct a bad grip, unsupported board, loose adjustment, or hand placed in the blade path. Accuracy begins with safe control of the work.
Lesson 01
Know the Machine Before Powering It
Unbox the saw as an inventory exercise. Remove packing material, inspect for shipping damage, verify that the lower guard moves and closes correctly, and locate the manual, clamp, blade wrench, dust bag, and other supplied parts.
Core landmarks
Table and fence: The two reference surfaces that support the workpiece. Material must remain stationary against both during a cut.
Miter scale, detents, and lock: The horizontal angle system. Positive stops speed common settings, but the lock still must be secure.
Bevel scale and lock: The tilt system that angles the blade relative to the table.
Slide rails and rail lock: The system that changes the saw from a compact chop motion to a wider sliding cut.
Lower guard: The moving barrier around the blade. Do not defeat, wedge open, or operate without it.
Kerf plate: The replaceable insert where the blade passes through the table.
Material clamp and support points: The hardware and surfaces that keep the workpiece from moving or tipping.
Lesson 02
Verify Alignment With the Battery Removed
A factory detent is a convenient reference, not proof of a perfect cut. Check the blade-to-fence and blade-to-table relationships according to the manual, then prove the result with a test cut on straight scrap.
Blade to fence: miter zero
Remove the battery and set the miter to the zero-degree detent.
Lower and lock the head only as the manual permits.
Place a reliable square against the fence and the smooth plate of the blade, avoiding the protruding carbide teeth.
If a gap appears, use only the manual's adjustment procedure. Tighten the required fasteners and recheck.
Blade to table: bevel zero
With the battery still removed, set the bevel to zero and place the square upright on the table against the blade plate. Adjust only the specified bevel stop or pointer components. A pointer can read zero while the blade is not square, so verify the geometry itself.
Lesson 03
Control the Workpiece and Your Body Position
The workpiece must be flat on the table, firmly against the fence, and unable to shift. Long stock needs level support beyond the saw table. Small, bowed, round, or irregular material may require a different setup—or a different tool entirely.
Clamp the work whenever possible, especially small pieces.
Never cut freehand or hold a workpiece against only one reference surface.
Keep hands out of the blade path and no closer than the manual permits. The DCS361 manual specifies at least 100 mm (about 4 inches) from either side of the blade; Bob's personal six-inch buffer is more conservative.
Do not cross arms, reach behind the fence, or remove scraps near a moving blade.
Stand slightly to one side of the blade line, balanced and clear of the saw head's travel.
Lesson 04
Run the First Crosscut as a Script
Support and clamp
Check the path cold
Reach full speed
Hold until full stop
For a narrow straight crosscut
Set and lock the miter at zero. Lock the slide rail for stock within the saw's non-sliding capacity.
Mark the waste side, support the board, press it against table and fence, and clamp it.
With power removed, lower the head through the intended path to confirm blade position and clearance. Raise the head fully.
Install the battery only when the setup is complete. Start the saw and wait until the blade reaches full speed.
Lower the head smoothly through the work. Release the trigger at the bottom and keep the head down until the blade stops completely.
Raise the stopped blade, remove the battery if the setup must change, and inspect the cut before repeating.
For a sliding cut
The DCS361 manual specifies an out-down-back motion for stock larger than a 2×4: pull the saw head fully toward you without contacting the work, lower it, then push it slowly back through the workpiece. Do not begin at the rear and pull a cutting blade toward you; the saw can climb or run forward.
Lesson 05
Maintain Guarding, Accuracy, and Clean Movement
When
Check
Action
Before every use
Guard, blade, locks, fence, clamp, battery
Look for damage, looseness, binding, missing parts, or packed debris. Do not operate until defects are corrected.
After the session
Table, dust port, guard path
Remove the battery, vacuum loose dust, and wipe reference surfaces without forcing debris into moving parts.
When cuts drift
Blade condition and alignment
Stop using the saw, remove the battery, inspect the blade, and repeat the manual's alignment checks.
As the manual directs
Rails and pivots
Use only the cleaning and lubrication methods approved by DeWalt; general-purpose wet lubricants can collect abrasive dust.
Pitch buildup and a dull or damaged blade increase heat and cutting force. Remove a blade only with the battery out and according to the manual's spindle-lock and fastener instructions. Replace any blade that is cracked, warped, missing teeth, or otherwise damaged.
This chapter reorganizes and safety-edits the supplied The Miter Saw source. The current DeWalt manual controls model-specific setup, hand clearances, cut direction, maintenance, and replacement parts.