Module 1.1 · Surface preparation
Refinishing & Surface Geometry
From old film to clean fiber: diagnose first, sand with a purpose, test on scrap, and choose a finish that matches how the piece will be used.
From old film to clean fiber: diagnose first, sand with a purpose, test on scrap, and choose a finish that matches how the piece will be used.
Refinishing is a conversation with the material. The existing coating, the wood species, earlier repairs, and the intended use all influence what should happen next. A good sequence makes each pass answer a question instead of merely making dust.
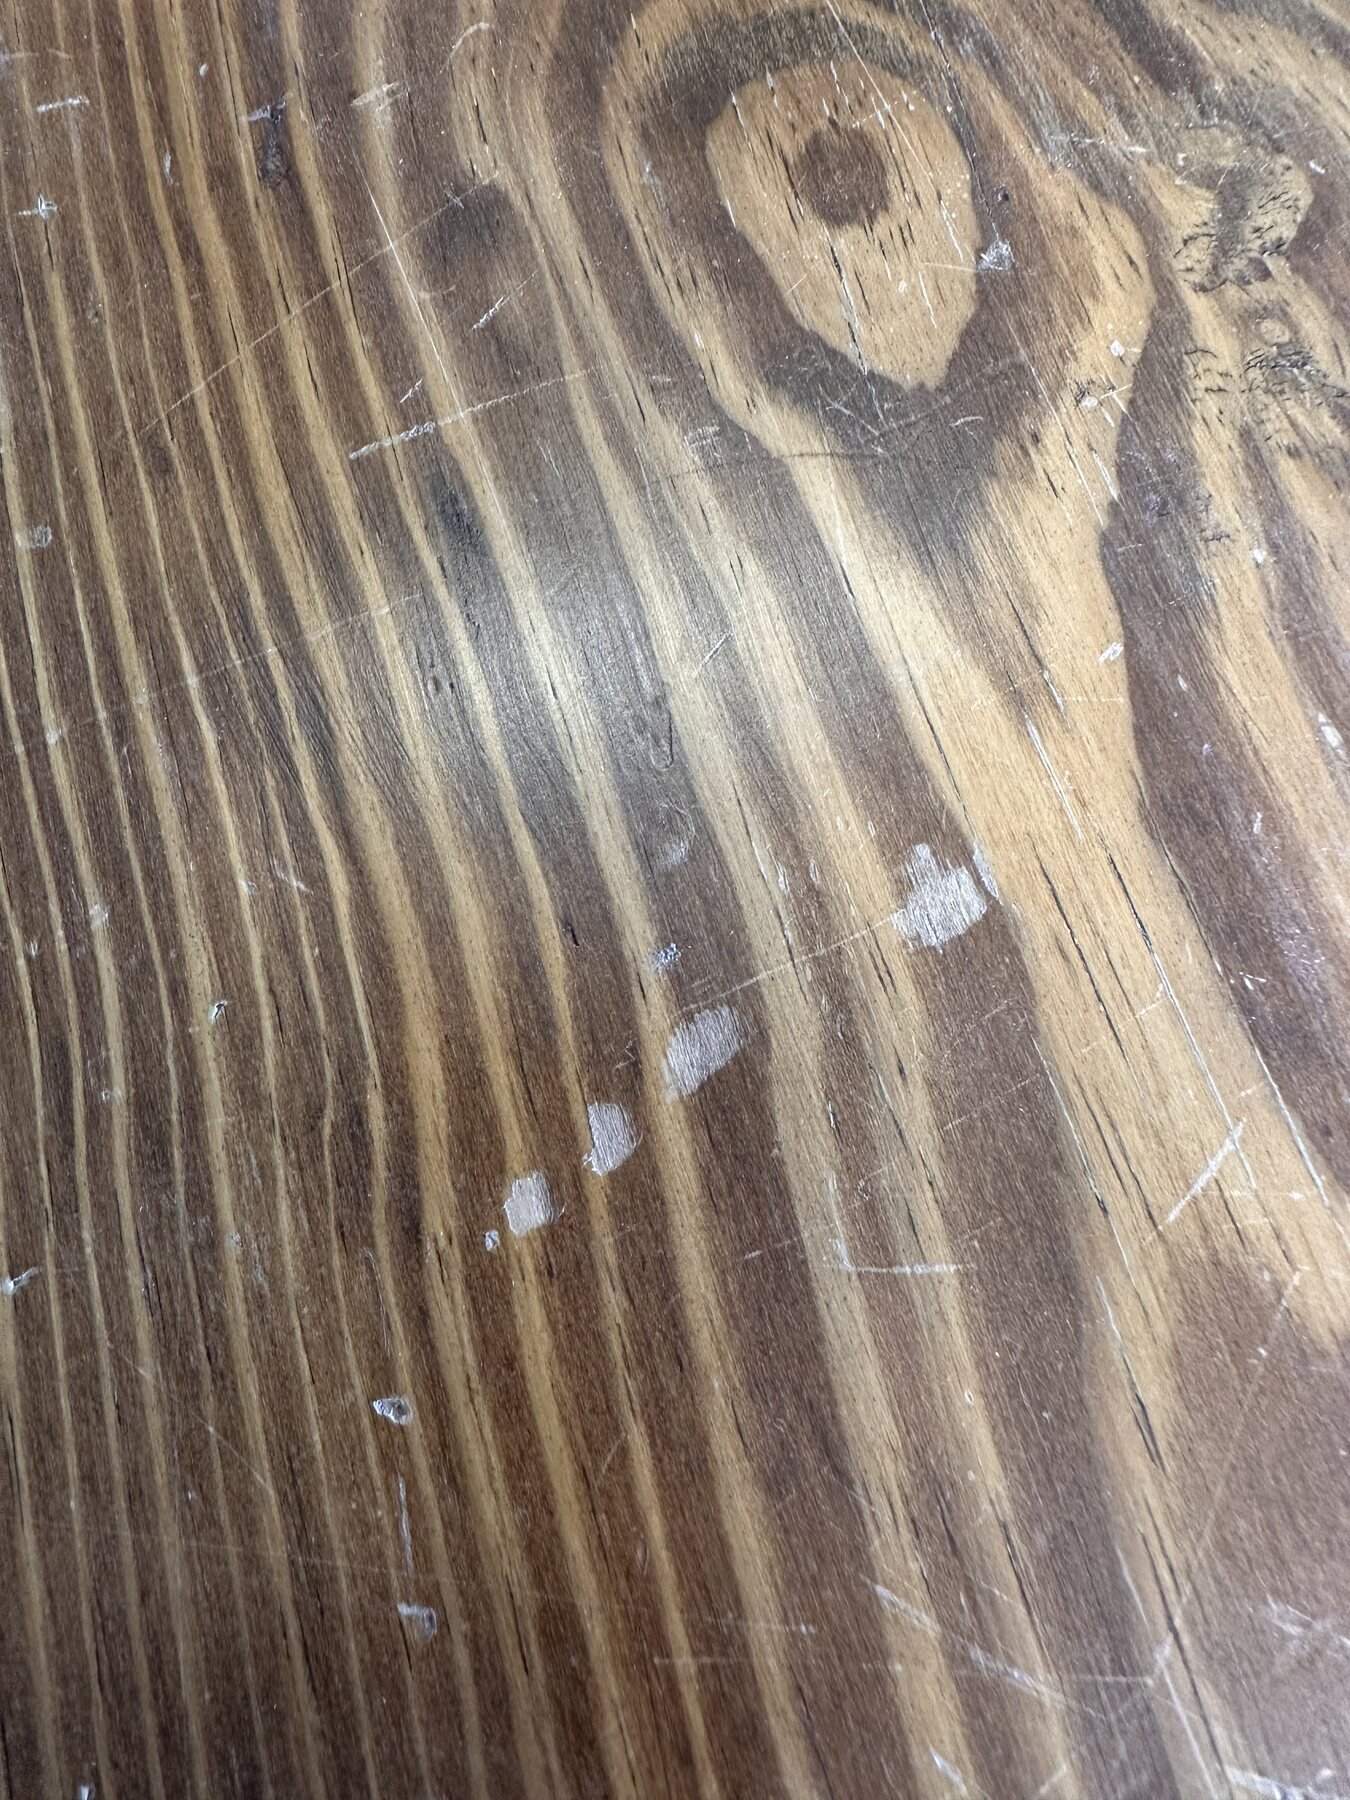
Pine does not contain the vessel pores seen in hardwoods such as oak, but its alternating earlywood and latewood bands can absorb stain at very different rates. The result may be dramatic color contrast or blotching. Species is only part of the diagnosis: glue residue, end grain, old finish, dents, and previous repairs also change absorption.
Every grit has a job. Coarse paper removes a coating or levels damage; each following grit removes the scratches left by the previous one. Skipping too far ahead leaves deep scratches that may reappear only after stain is applied.
| Stage | Method | Purpose and stopping clue |
|---|---|---|
| 80 grit | Random-orbit sander, light pressure | Use only when a sound reason calls for aggressive removal. Stop when the coating is gone or the defect is level; do not keep cutting healthy wood. |
| 120 grit | Slow, overlapping passes | Remove the 80-grit scratch pattern. Pencil guide marks can reveal missed areas without over-sanding. |
| 150 grit | Orbit sander or sanding block | Refine and even the surface before a stain system. Check edges and profiles by hand. |
| 180–220 grit | Hand-sand with the grain | Final refinement when appropriate for the chosen product. The finish label—not habit—sets the final grit. |
Pre-stain conditioner can reduce uneven absorption on woods such as pine. Match the conditioner to the stain chemistry: use an oil-based conditioner with an oil-based stain and a water-based conditioner with a water-based stain. Mixing systems without manufacturer approval can create adhesion and color problems.
Minwax's current guidance for its oil-based conditioner is to allow 5–15 minutes of penetration, remove the excess with a clean dry cloth, and then follow the label's stain-application window. Other products may differ. Test the complete conditioner, stain, and topcoat schedule together on scrap.
A penetrating oil-and-wax finish creates a low-build, touchable surface, but it does not provide the same resistance to standing water, heat, abrasion, or household chemicals as a compatible film-building finish. Choose by service conditions, not appearance alone.
| Finish direction | Strength | Tradeoff |
|---|---|---|
| Oil or oil/wax | Natural feel, easy spot renewal | Lower protection and more frequent maintenance; curing and rag-fire precautions are essential. |
| Wiping varnish or polyurethane | Better resistance for frequently handled furniture | Requires careful ventilation, dust control, cure time, and compatible recoating. |
| Wax over a cured compatible finish | Changes sheen and feel | Wax alone is not a substitute for a durable topcoat on a hard-use tabletop. |
Use light, touch, and sample boards to check the work. Raking light exposes scratches. A clean white cloth reveals remaining dust. A matching scrap reveals color, sheen, and cure behavior without risking the project.
On bare wood only—and only when the next product permits it—a small amount of the recommended test liquid can help reveal uneven finish removal. Do not use a water-drop test on a completed finish or a valuable show surface. Follow the finish manufacturer's surface-preparation directions and allow any test area to dry fully.
This chapter reorganizes and safety-edits the supplied Woodworking 101: Refinishing & Surface Geometry source. Product labels, Safety Data Sheets, and current manufacturer instructions take precedence.